

Oratape HT55 High Tack Tape
Oratape HT55 is the perfect solution for simple and low-stress premasking. The specially formulated, high-tack adhesive allows for flawless cling without concern for paint damage or tunneling after the tape has been applied.
This tape can be used on die-cut or computer-cut vinyl graphics of any size or shape, and the adhesive will even stick to silicone-coated release liners with no problem.
Description
Oracal Oratape HT55 is considered to be the brand’s most popular application tape, and it’s easy to see why.
This tape utilizes a specially formulated adhesive made from natural latex rubber. The adhesive gives it extreme staying power with no risk of damaging paint or decals. The formula is also specifically designed to work with matte or glossy films, and it even adheres flawlessly to matte films that are typically difficult to work with.
Because this is a paper application tape, you can pick up vinyl graphics of any size. Whether you’re working with large, bold designs or small and delicate patterns, HT55 tape won’t let you down. With a shelf life of 12 months, you can feel confident in using it for long-term projects as well.
This tape is great for casual crafters, hobbyists and professionals alike. It provides versatile, high-quality and reliable performance with minimal fuss. This means that whether you’re making a DIY gift or shipping expensive professional decals across the country, you can count on Oratape HT55 to make the job quick and easy.
Additional Details
- Uses high-tack natural latex rubber adhesive
- Perfect for hobbyists or professionals
- Semi-transparent application tape
- Simplifies premasking for vinyl graphics
- Available in a variety of sizes
- Provides superior lay-flat performance
- Ideal for use with Oracal 631, Oracal 8810, Oracal 8510 and Oracal 8710
- Compatible with matte and glossy vinyl
- Able to pick up small or delicate details without damage
Additional information
| Size Tape | 6 In x 100 Yd, 12 In x 100 Yd, 14 In x 100 Yd, 24 In x 100 Yd, 30 In x 100 Yd, 48 In x 100 Yd, 54 In x 100 Yd |
|---|
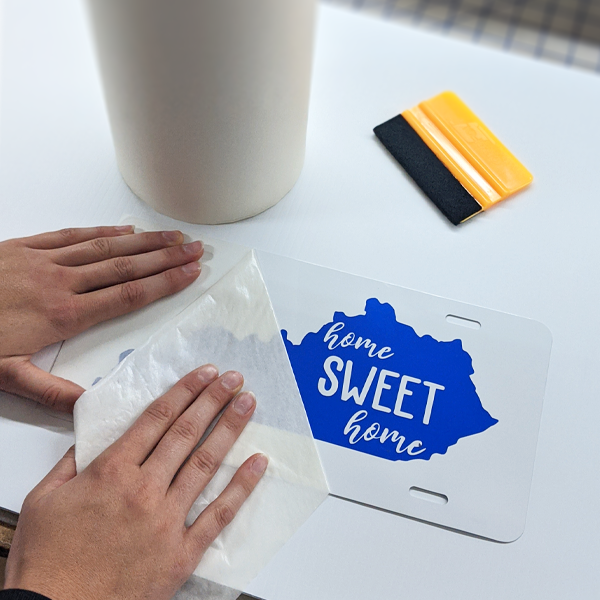
Application Instructions
- Begin by cutting and weeding your vinyl design. This tape can be used with computer-cut or die-cut graphics.
- Measure and cut an appropriate length of application tape to place over your design.
- To ensure even coverage, be sure to align the edge of the application tape with one edge of your decal. If the design has curved or patterned edges, align the edge of the tape with the outermost edge of the decal.
- When the tape has been properly positioned, use a vinyl application tool to smooth the tape over the decal. If you do not have an application tool, the flat edge of a credit card can also work for smaller designs. Use firm, even strokes to get a smooth application.
- After the transfer tape has been applied, trim any excess from around the edges of your design.
How to place the vinyl:
- Once you have prepped your application surface, carefully remove the vinyl carrier sheet, and place the design in the desired position.
- Using your vinyl application tool or credit card, carefully smooth the decal onto the application surface. Depending on the size of the design or the curvature of the surface, you can work from the center outward or from edge to edge. Be sure to use firm, even pressure with each stroke to prevent wrinkling or bubbling during application.
- Starting with one corner, slowly and gently peel away the transfer tape. If the decal shows signs of peeling up as well, smooth both layers back down, and use firm pressure to more fully adhere the vinyl to the surface. The transfer tape should lift away from the design easily and leave no residue behind.
Related products
-
-
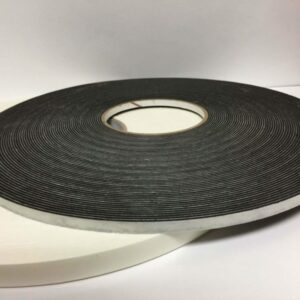
- Tape
Double-Side Foam Tape
- $10.99
- Select options This product has multiple variants. The options may be chosen on the product page
-
-

-
Sale!
- Tape
ScrappyTac Hand-Tear Tissue Tape
- $6.99 – $9.99
- Select options This product has multiple variants. The options may be chosen on the product page
-
Sale!
-
-
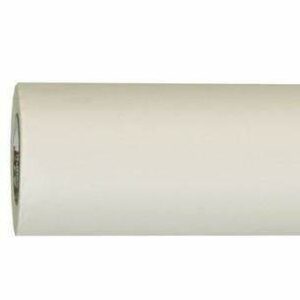
- Tape
Oratape MT95 Clear Application Tape
- $37.00 – $194.00
- Select options This product has multiple variants. The options may be chosen on the product page
-